

I decided to post a series of article about Windows Server 2012 and this is the Part 1. In this part I’ll talk about the basic installation issue, how to prepare for installation and so on.
Planning installation and roles
It is recommended to practice in virtual machine and test all software whether they have any bugs or they are running properly in VM before deploying Windows Server 2012 in production environment. Lots of products like VMWare, Hyper-V or any other third-party software can be used to test this OS in VM. If you plan in advance, it will make your whole experience better.
Prepare hardware
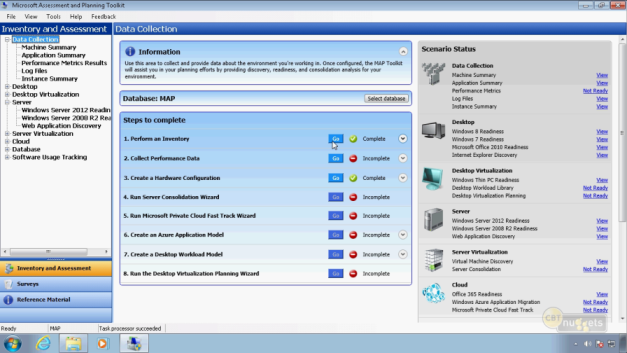
To prepare hardware I do recommended to use Microsoft Assessment and Planning toolkit (MAP Toolkit). http://www.microsoft.com/en-us/download/details.aspx?id=7826
It is a powerful inventory tool which will assess your environment and recommend which servers can be upgraded or not. This tool will provide a very wonderful report in Microsoft word format about your existing environment readiness status and it will also tells you what may will possibly wrong after upgrading.
You can only migrate from
- Windows Server 2003 SP2/R2 64bit
- Windows Server 2008 64bit
- Windows Server 2008 R2
- You can migration from Physical to Virtual + Virtual to Physical
- You can only upgrade to same UI language – different language is not possible
- You cannot upgrade from Windows Server 2008 Core as it does not have .Net framework installed
- You cannot upgrade from 32bit OS
Minimum Requirement
Windows Server 2012 is surprisingly light. The minimum installation requirements are
- CPU – 1.4 GHz 64-bit – Yes only 64 bit architecture is supported in WIN 2012
- RAM – 512 MB
- Disk Space 32GB
It may be a good time for hardware upgrade because lot of organization are still using 32bit OS and 64bit is the future.
You can also check this link – http://technet.microsoft.com/en-us/library/jj134246.aspx for system requirements.
Drivers – Signed/Unsigned
If you need any driver you can install it during installation process. Microsoft recommend to use only digitally signed driver, however you can also install unsigned drivers by Disable driver signature enforcement feature.
Pre-learn PS CMDLETS
It is recommended to learn some PowerShell command in advance which will help you to manage your Windows 2012 Server more easily.
Sample PowerShell Command which will show your top 10 event logs:
Get-eventlog system 10
Check this link: http://blogs.msdn.com/b/powershell/archive/2012/08/24/introduction-to-cim-cmdlets.aspx
Removed or Deprecated Items in Windows Server 2012
Please watch out for any removed or deprecated items within Windows Server 2012. Their might be a service such as – there are some changes in federation services, clustering which are not exactly the same that were in Windows Server 2008. You may have third party product which depends on those services or feature and they may not work with Windows Server 2012. So you need to beware of that in advance. There is a documentation on technet, please check the below link before upgrading.
http://technet.microsoft.com/en-us/library/hh831568
Backup and have contingency
And finally you should have proper backup system in place so that in case of any failure you can rollback to your earlier state. Don’t just backup periodically also restore it in your test environment – this is a fundamental rule for any backup and restore plan. Make a contingency plan so that in case of any service failure you can transfer that service to other machine.
Installation Levels
You can use several type of installation
- Full GUI mode
- Core –(Default) The reason behind making it default is most of the time server administrator don’t even go to data center to access those servers rather using remote console to administer servers. And a recent Microsoft report found 90% of the updates come for graphical user interface
- Features on demand
- Minimal Server interface – it is kind of compromise those who wants to use GUI mode instead of using Core more (Command prompt). But it does not give you internet explorer, control panel and so on.
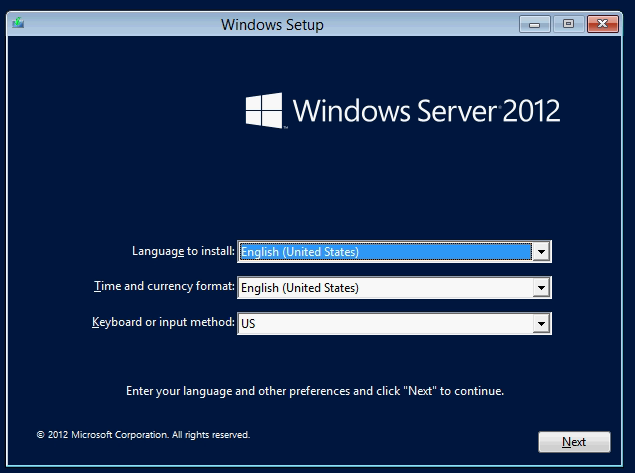
Installation
Insert the Windows Server 2012 DVD. The system will boot from the DVD and Windows Setup dialog box will appear. Select your preferred language and click next.
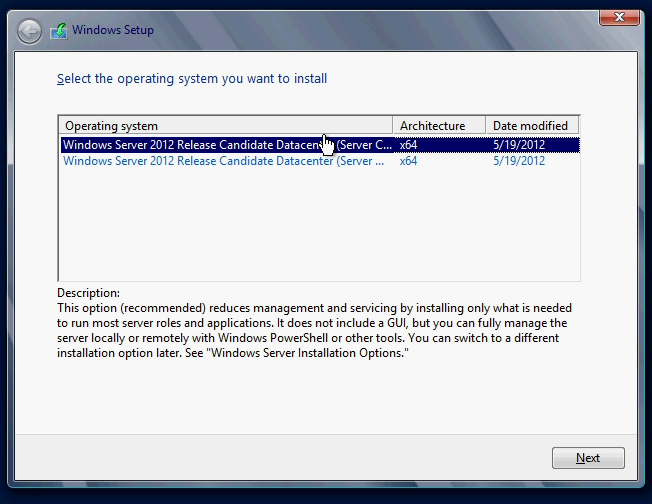
Click Install Now

Select which version of OS you want to install (Core or GUI)
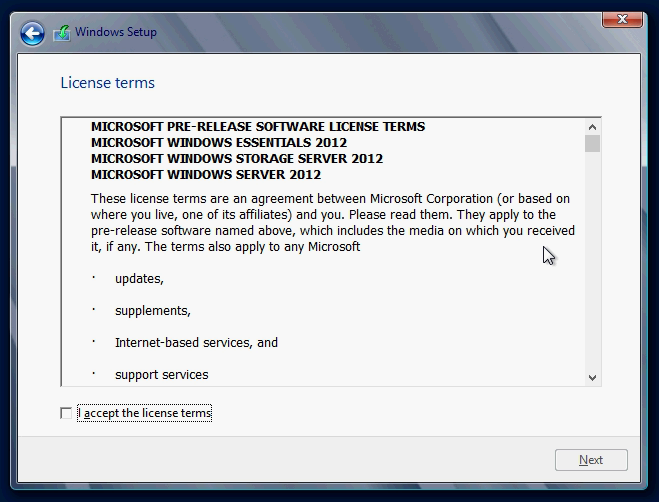
Accept the license agreement
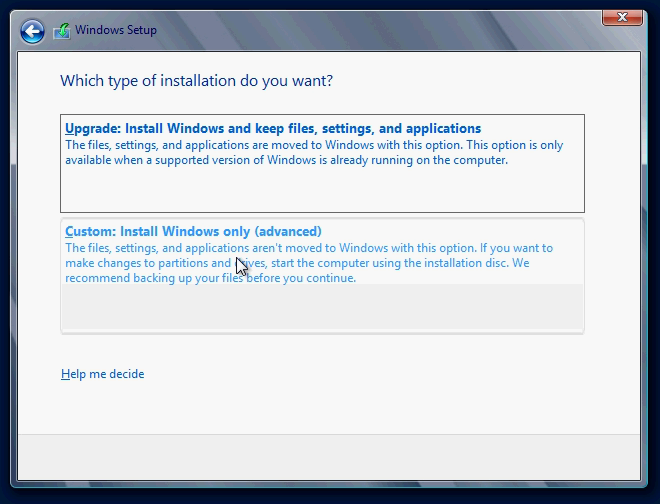
Select Custom installation for new/fresh installation
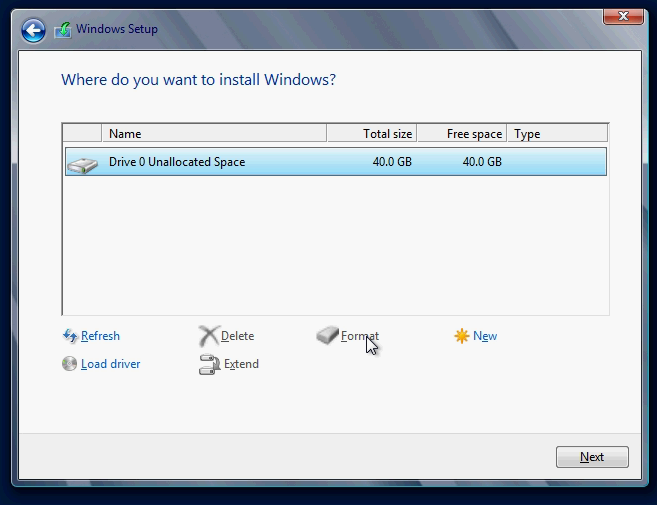
Select the drive you want to use
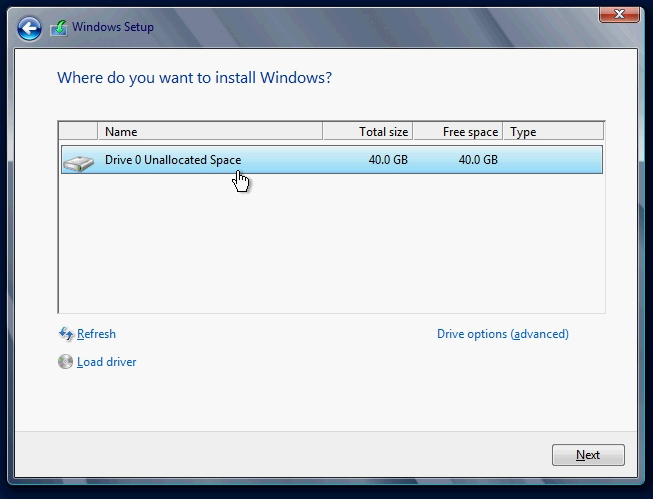
You can also load driver if needed or you can modify or delete existing drive from this window
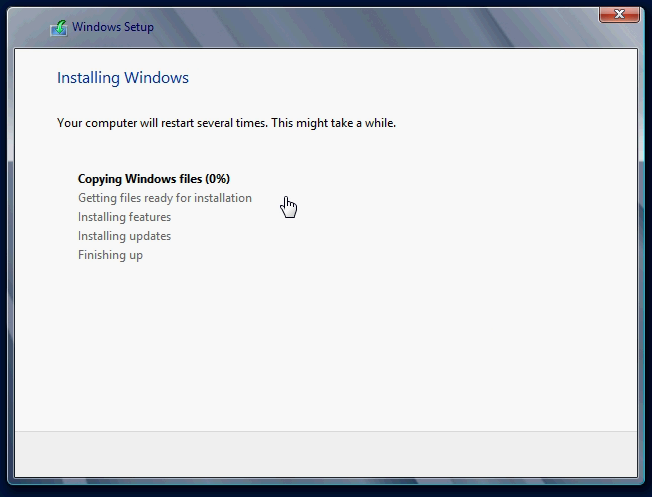
Click next and installation will start
After completing the installation the system will restart and Settings Window will appear to set the initial password for your local server Administrator. Click on the Finish button after setting a strong password.

Then you will see the default screen for Sign in
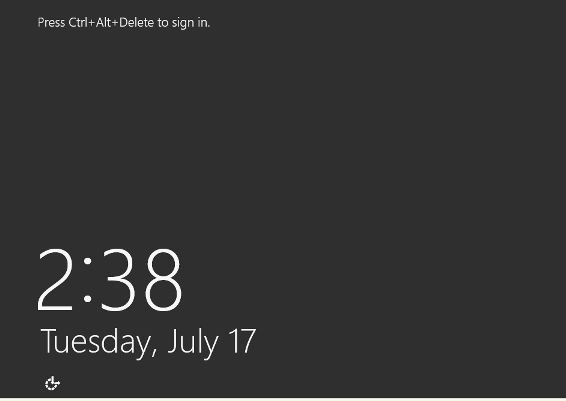
Press Ctrl+Alt+Delete and enter the Administrator password to Sign in

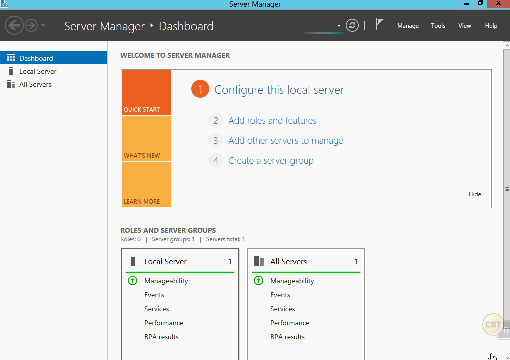
It will load the Server Manager automatically
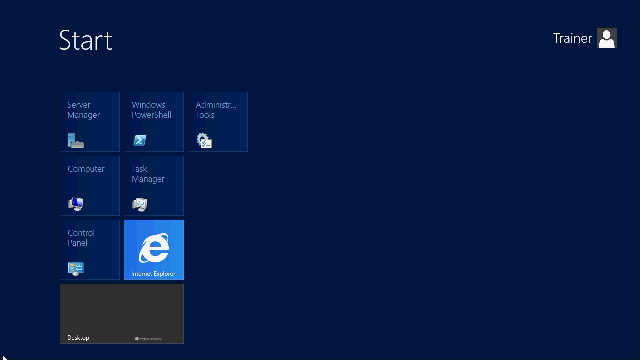
Where is the Start Menu!!
In the desktop you won’t find any Start menu.
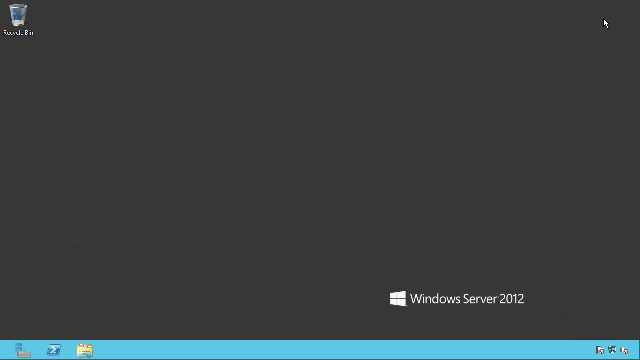
If you click on the lower left portion of your desktop window you will see a hover icon which is actually the Start menu, click on it and you will see the Metro UI.
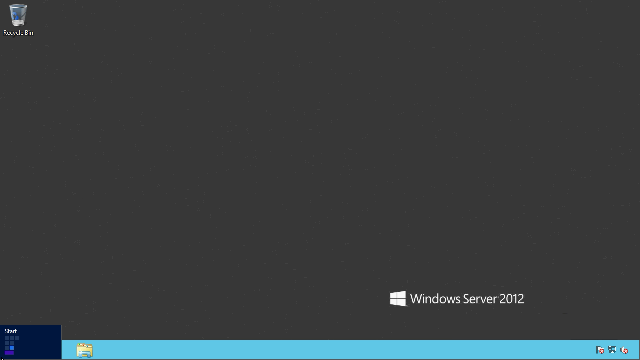
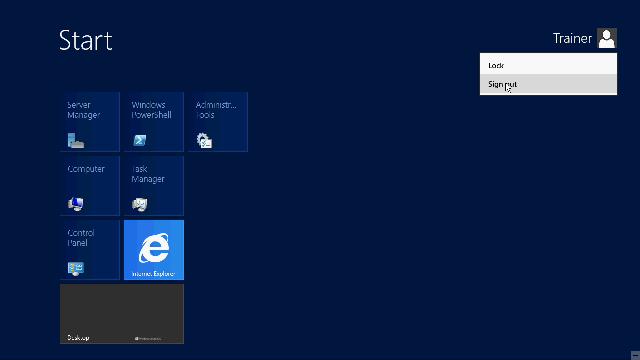
You can Sign out If you click on the User icon menu
If you want to restart or Shut Down the computer go to desktop and go upper right hand side of the screen
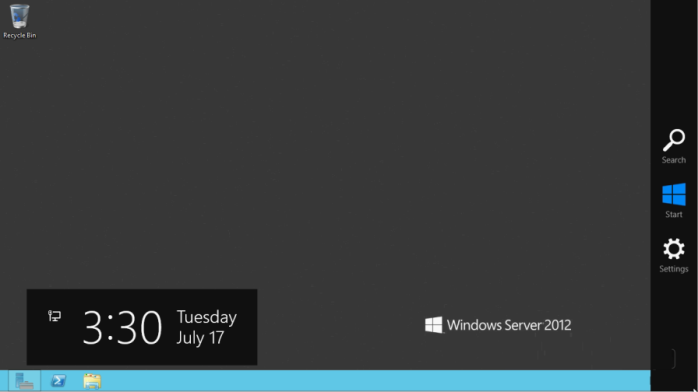
Click on Settings and you will find the option to Shut Down or restart the computer.

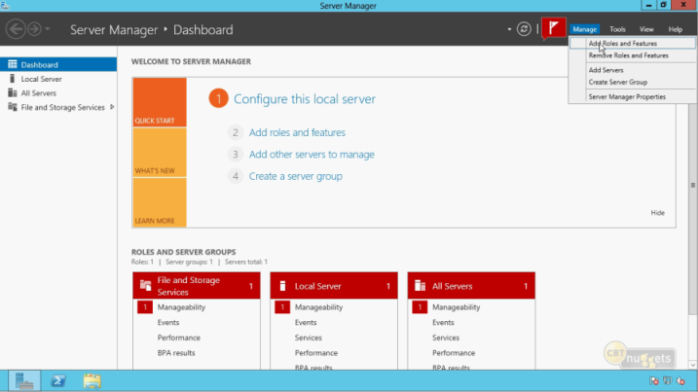
Adding roles and features
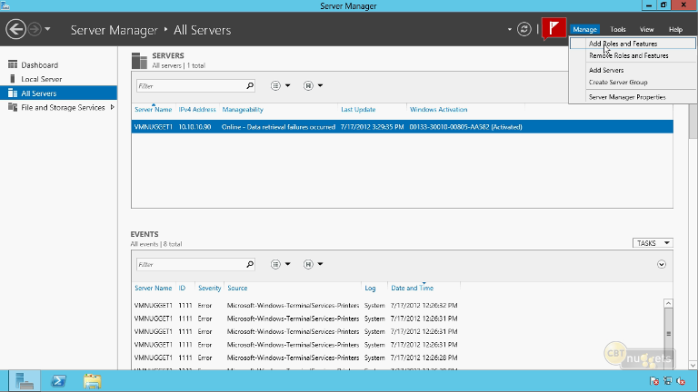
Go to Server Manager and click on Add role link or click on Manage menu from the top right corner.
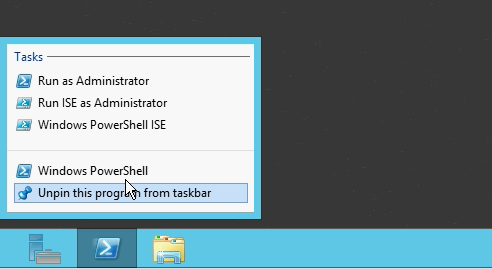
Roles or features can also be installed using PowerShell. Right click on the PowerShell icon from desktop and click on Run as Administrator
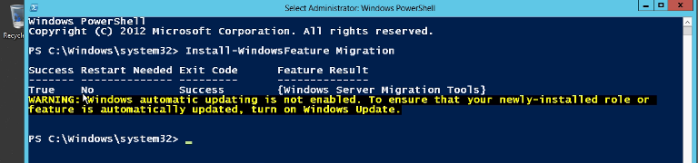
To install a feature you can execute Install-WindowsFeature command as below
You can also manage roles and feature of all your server in the server group. You can create server group and new server to the group or you can remove any roles or features of a remote server from this UI.
Administrative tools
The Administrative tools are now moved from program files to Server Manager. If you click on the tools menu from the Server Manager you will find all the Administrative tools available on that server.

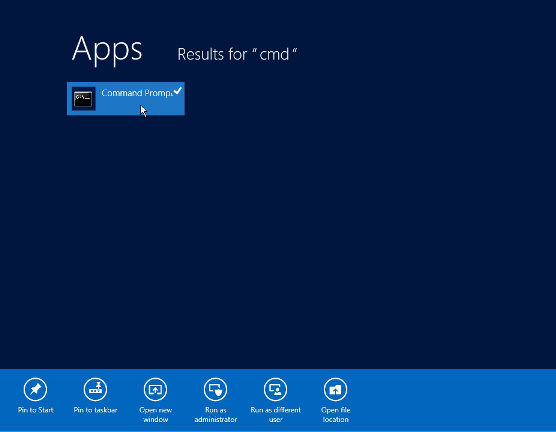
To run CMD
Got to start menu and type “CMD”, the system will show you the command prompt icon and if you want to run this as Administrator, right click on that icon and select the option to run from the menu.

This is the end of Part 1. Hope to talk about more regarding Microsoft Windows Server 2012 in future.
